Project Overview :
● Here is the simple code for access the web camera and live feed.
Requirements :
● Raspberry Pi 3 Model B+ or Raspberry Pi 4 .
Initial setup for RPI-TENSORFLOW :
📚 Click Here , for the initial setup
SPECIFICATION :
Raspberry Pi 3 Model B+
The Raspberry Pi 3 Model B+ is the latest product in the Raspberry Pi 3 range, boasting a 64-bit quad core processor running at 1.4GHz, dual-band 2.4GHz and 5GHz wireless LAN, Bluetooth 4.2/BLE, faster Ethernet, and PoE capability.
The dual-band wireless LAN comes with modular compliance certification, allowing the board to be designed into end products with significantly reduced wireless LAN compliance testing, improving both cost and time to market.

● Processor: Broadcom BCM2837B0, Cortex-A53 64-bit SoC @ 1.4GHz .
● Memory: 1GB LPDDR2 SDRAM.
● Connectivity: 2.4GHz and 5GHz IEEE 802.11.b/g/n/ac wireless LAN, Bluetooth 4.2, BLE Gigabit Ethernet over USB 2.0 (maximum throughput 300Mbps) 4 × USB 2.0 ports.
● Access: Extended 40-pin GPIO header.
● Video & Sound: 1 × full size HDMI, MIPI DSI display port, MIPI CSI camera port, 4 pole stereo output and composite video port.
● Multimedia: H.264, MPEG-4 decodes (1080p30); H.264 encode (1080p30) OpenGL ES 1.1, 2.0 graphics.
● SD card support: Micro SD format for loading operating system and data storage.
● Input Power: 5V/3.1A DC via micro USB connector, 5V DC via GPIO header, Power over Ethernet (PoE)–enabled.
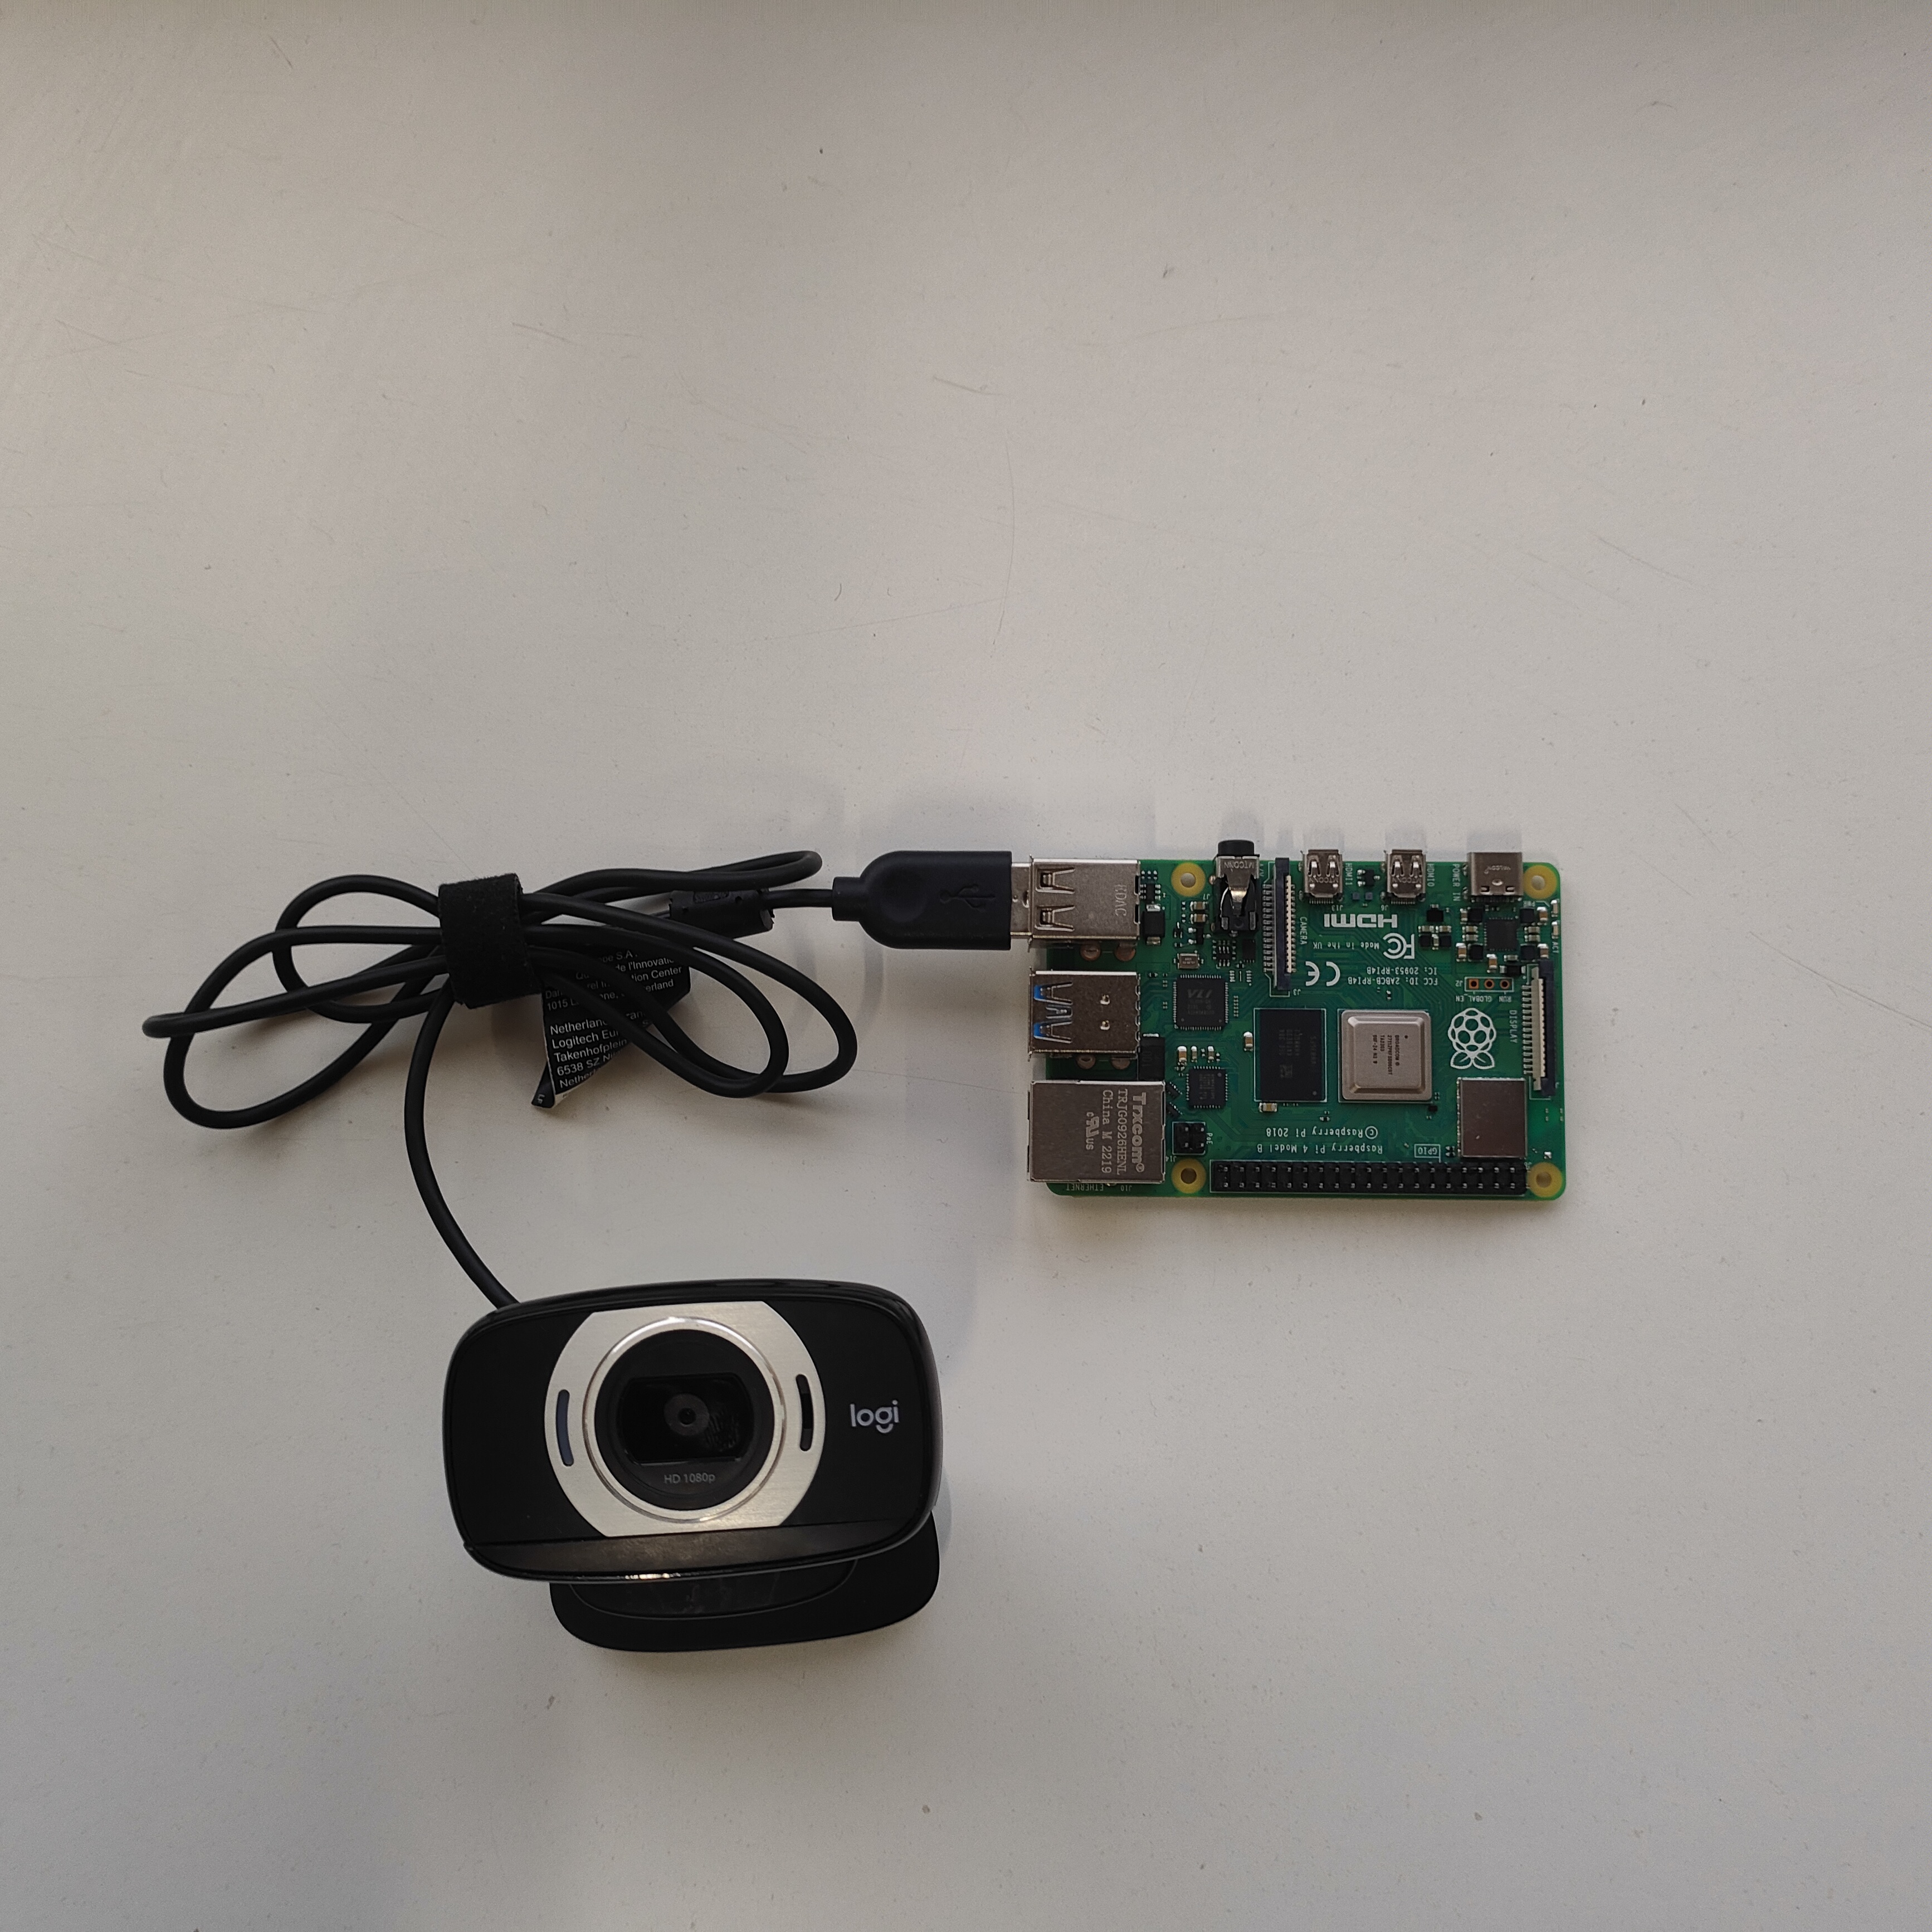
Circuit connection :
Code :
import cv2


# define a video capture object
vid = cv2.VideoCapture(0)

while(True):

    # Capture the video frame
    # by frame
    ret, frame = vid.read()

    # Display the resulting frame
    cv2.imshow('frame', frame)

    # the 'q' button is set as the
    # quitting button you may use any
    # desired button of your choice
    if cv2.waitKey(1) & 0xFF == ord('q'):
        break

# After the loop release the cap object
vid.release()
# Destroy all the windows
cv2.destroyAllWindows()
● If you press ‘q’ the code will stop running.
OUTPUT :
